- Like
- SHARE
- Digg
- Del
- Tumblr
- VKontakte
- Flattr
- Buffer
- Love This
- Save
- Odnoklassniki
- Meneame
- Blogger
- Amazon
- Yahoo Mail
- Gmail
- AOL
- Newsvine
- HackerNews
- Evernote
- MySpace
- Mail.ru
- Viadeo
- Line
- Comments
- Yummly
- SMS
- Viber
- Telegram
- JOIN
- Skype
- Facebook Messenger
- Kakao
- LiveJournal
- Yammer
- Edgar
- Fintel
- Mix
- Instapaper
- Copy Link
A few short months ago, I discovered the beauty of webinars.
I love to learn more about the marketing industry. Every chance I get, I’m on LinkedIn searching for engaging content that teaches me something new about social media or content creation.
And my favorite way to learn is by watching a webinar.

By taking an hour out of my day, I can gain valuable insights from industry experts about virtually any topic. In most cases, I’m introduced to a new thought leader in the space, as well.
The only downside to webinars is that a lot of them are live events. Most of the time, my schedule doesn’t allow for a “One-time only” experience, so I miss out on a lot of compelling webinars.
Fortunately, there’s a simple fix around that: Recording them.
If it sounds like a lot of extra work to record a webinar, edit, and figure out where it’ll live post-launch, don’t worry. This post will show you how to do it in five easy steps.
Ready to get started and press “Record”?
Why record webinars?
Webinars are a fantastic addition to your content marketing toolkit. Though they take time to produce, they can be extremely valuable for your audience. They’re basically vocal eBooks — They present educational lessons in a fun, engaging format.
For example, this webinar is a short, insightful discussion about how to manage a remote sales team:
You might want to consider recording your webinar for a couple of reasons. First, recorded videos can be edited. If this is your first time hosting a webinar, it might be useful to host it with no audience,. so you can make small tweaks.
Recorded webinars are also useful because they are accessible. If you decide to host yours during a time your audience can’t attend, recording the webinar ensures they can still catch the information.
Regardless of whether you’re a webinar pro or a beginner, there’s some extra things to keep in mind before you hit that “Record” button. Read on to learn more about recording, exporting, and sharing a webinar.
How to Record a Webinar
- Choose proper video hosting software.
- Decide where you will record.
- Perform a practice version for mistakes.
- Edit your presentation for professionality.
- Share your webinar on social platforms or your own website.
1. Choose proper video hosting software.
After the plans to record a webinar are set, the next step is choosing a platform. A lot of platforms are similar as far as what they offer, but go with one that will let you record and export. It’s a good idea to look for one that will also record for a longer time.
Some recording tools are only built for certain operating systems, so make sure yours operates on multiple different systems. Most platforms you’ll find work on both Mac and Windows devices, but keep a watchful eye as you’re researching.
Vidyard and Zoom are good places to start. Both offer recording options and are easy to use. You can also record, export, and upload videos from these platforms onto web pages. Alternatively, check to see if your computer comes with recording software, like QuickTime — it’s possible you won’t have to download a new tool if your computer already comes equipped.
Ultimately, choose one that will let you do everything you need. If you have to share your screen or ask for audience participation, make sure your software has those capabilities.
2. Decide where you will record.
The setting or background of your webinar shouldn’t be disrupting. If your attention can be taken away by something near you, so can your audience’s. Choose a place to record your webinar that’s quiet and fit for a professional presentation.
A quiet space with little outside distraction is going to be your best bet. If that’s hard to accomplish, try to change your setting so it’s more fit for a webinar. Think about what you want the background to look like in a video that will live past its original recording date.
For instance, if the space you have includes a bright green poster and some laundry in the background, take the poster down and move the laundry. Ultimately, you’ll want to present a space that won’t take away from the lesson.
Alternatively, if you decide your space isn’t camera-ready, you don’t have to show it. Turn your camera off and let the presentation be the visual, like this one from Facebook. If you go this route, though, you’ll likely need an animator or designer to make sure your presentation is engaging enough to keep the viewer’s interest.
3. Perform a practice version for mistakes.
Before you officially record, practice using the software. Familiarize yourself with how to export and upload a video so you’ll be comfortable when the time comes.
Practicing the full motions of the webinar helps with presentation and flow. When you watch it back, you can gauge how you come across, how you’re speaking, and the impact of the lesson. Additionally, you’ll see how to remedy technical difficulties — If it took you a little long to find Zoom’s “hand raiser” tool, for instance, you can practice the motion to speed up the process.
If you’re thinking that you won’t have time to fit in multiple test runs, don’t worry. You won’t need the full hour to practice your presentation. Instead, record the section you’re most unsure about — that way, you can tweak things to make it better.
Alternatively, maybe your test run tells you that you need more help with the creation part. If that’s the case, head on over to this guide for making a compelling webinar of your own. Otherwise, after you’re comfortable with your setting and presentation, you’re ready to record the real deal
4. Edit your presentation for professionality.
Recorded webinars aren’t live, and because of that, things don’t stop when it ends. After you finish your presentation, end the recording and then, export your video and watch it for any mistakes.
Small mistakes, like a fumble on words, are normal. If you come across them, don’t feel as if they should be edited out — after all, humans slip up every day. However, glaring mistakes, like recording the video too early, should be edited.
The great thing about recorded webinars is that you have the option to edit. And, if you’re not recording for a live audience, you have more room to tweak the final version. Look at your work before it goes up for the world to see so you and your company are represented professionally.
Additionally, if you need to change anything about your presentation based on timing, you can trim certain parts. If you’re recording it live, take note of any audience participation exercises that might be easy to replicate after the live version. Trivia questions can be fun past the live taping of the webinar, for example.
5. Share your webinar.
Now, you’re ready to share your recording! You might have a plan for how you want to distribute it — especially if it’s an event for your customers. But, if this is a stage you’re stuck on, here are some ideas for sharing.
Webinars have the great advantage of being extremely sharable. Even though it’s a long format, they usually contain highly valuable information that audiences want to see. Plus, video is an incredibly popular format and often does better than text for attracting a large audience.
1. Landing Page
Create a landing page where your webinar will live. It’s convenient to do this, as you can track page performance. You can use the extra space of a landing page for copy explaining what viewers will gain from the webinar, or helpful resources that relate to the lesson.
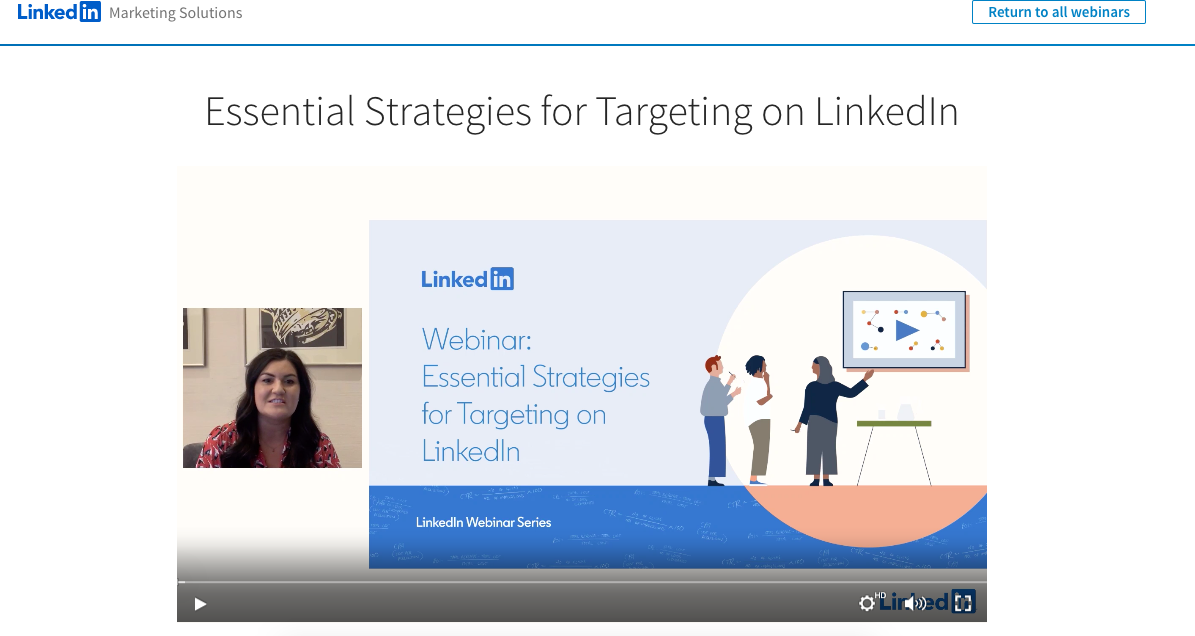
This one, from LinkedIn, is very minimal. Below, there’s a short description of the webinar, as well as background about the platform itself. Your page shouldn’t be busy, just informative. Tell the audience what they’ll get out of the lesson.
2. Social Media
Share your webinar with your followers to increase traffic. For example, this one, about a dental tool, was shared on Facebook:
LinkedIn is a popular social networking site for webinars because of its unique emphasis on professional content. If you go that route, it’s likely you’ll find qualified leads. Ultimately, though, go where your followers are. For instance, if most of your traffic comes from Facebook, choose Facebook.
3. Email Marketing
Don’t forget to remind your audience about the recorded webinar. In weekly newsletters, hyperlink the video. Your content will get more views, and your customers will love the extra content in their inbox. Check out the one I got last week, for instance:
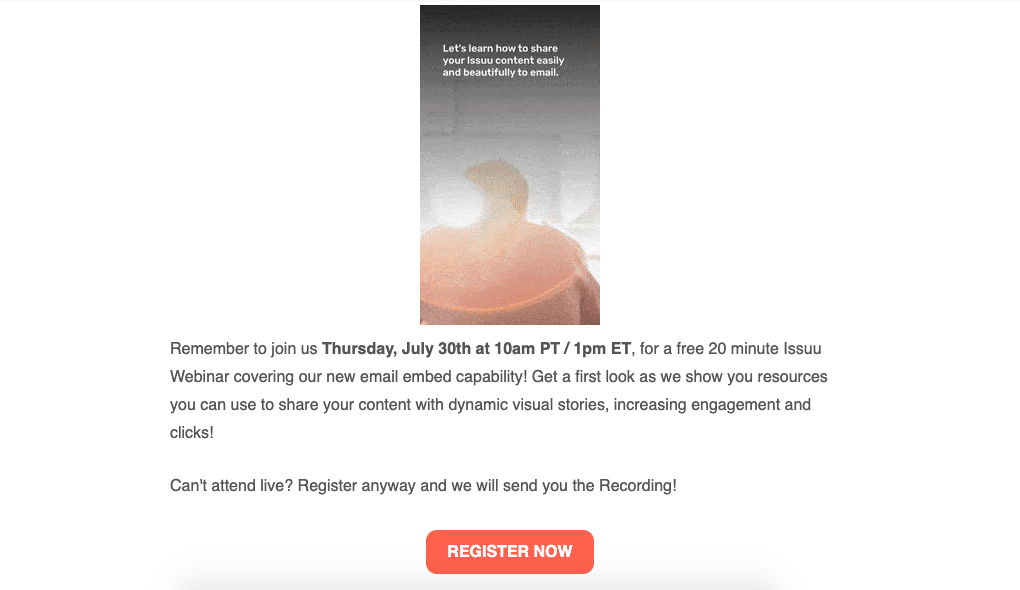
Before the email, I had no idea the webinar was happening. Even if you promote the webinar, you can’t catch every customer with just a couple of channels. Leverage multiple messaging channels to maximize participation.
4. Blog Posts
Webinars can live in multiple spaces on your website. If your recording was about social media marketing, and you have a guide on the subject, consider embedding a snippet of the webinar onto the post. You’ll snag more traffic that way, and make the piece itself more actionable.
Let’s look at this example:
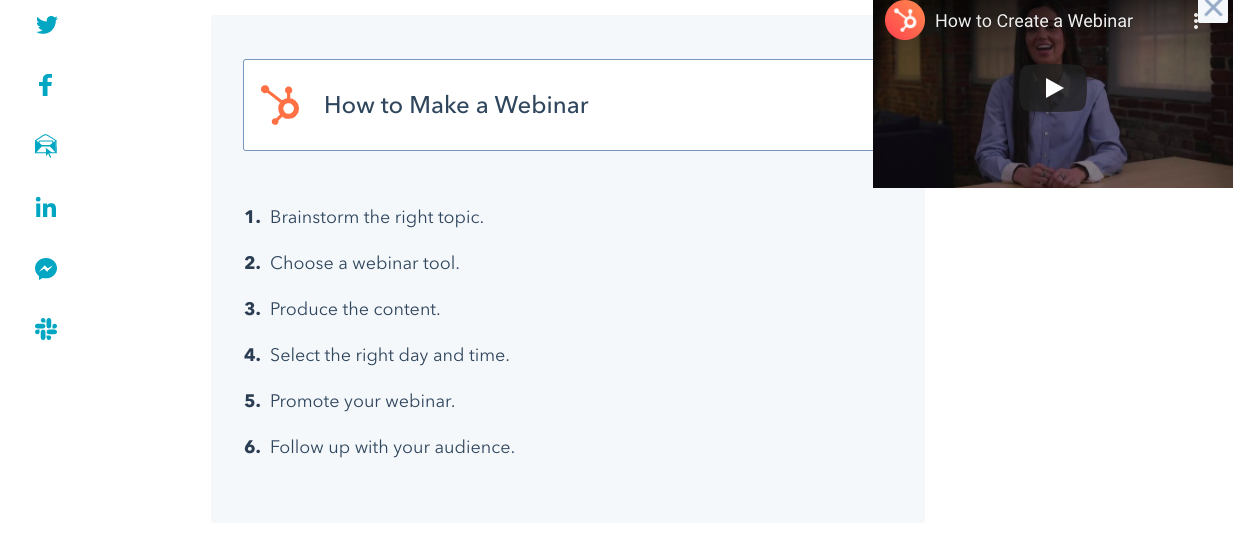
Here, we see the webinar added to the blog post to make it more engaging. Readers who want the full run-down can follow along with the post. Additionally, those who are visually impaired will find value in being able to hear the topic explained in an accessible format.
Webinars diversify the content you offer. Recorded ones are great for accessibility and extended value. Long after the initial recording, you can still earn leads from them.
Every day on my lunch break, I have a recorded webinar queued up and ready to go. The next time I’m scouring the internet, looking for the next winner, will I see yours among the rest of the amazing content?

Originally published Aug 5, 2020 7:45:00 PM, updated August 06 2020